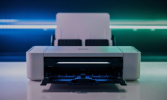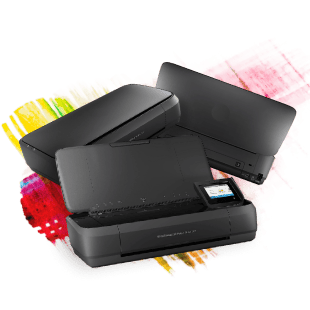
How to Clean Your Printer the Right Way
A clean printer can give a much better print, and at the same time has an increased life span, as well as being much efficient. Paper jams, smudged prints, and variations in the quality of output may be caused by dust, dried ink, or toner buildup. Regardless of whether you are at home or in a small office, frequent cleaning is beneficial in keeping the print clear and reducing performance problems. The following manual will take you through the necessary procedure of cleaning a printer efficiently and safely.
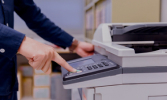
You Need to Switch Off and Turn Off the Printer
It is always important to switch the printer off and unplug it. This will make it secure and will not allow moving mechanical parts to act out during cleaning. Operating an unplugged machine will minimize the chances of any internal damage to the machine and any possible electrical risks.
Eliminate Paper Trays and Cartridges
Be careful when removing the paper tray, cartridges, or toner units as provided by the manufacturer. This way will provide more access to internal spaces where there might be dust and paper debris. Put cartridges on a clean surface or put them in a protective container to prevent leakage or accidental destruction.
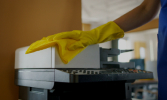
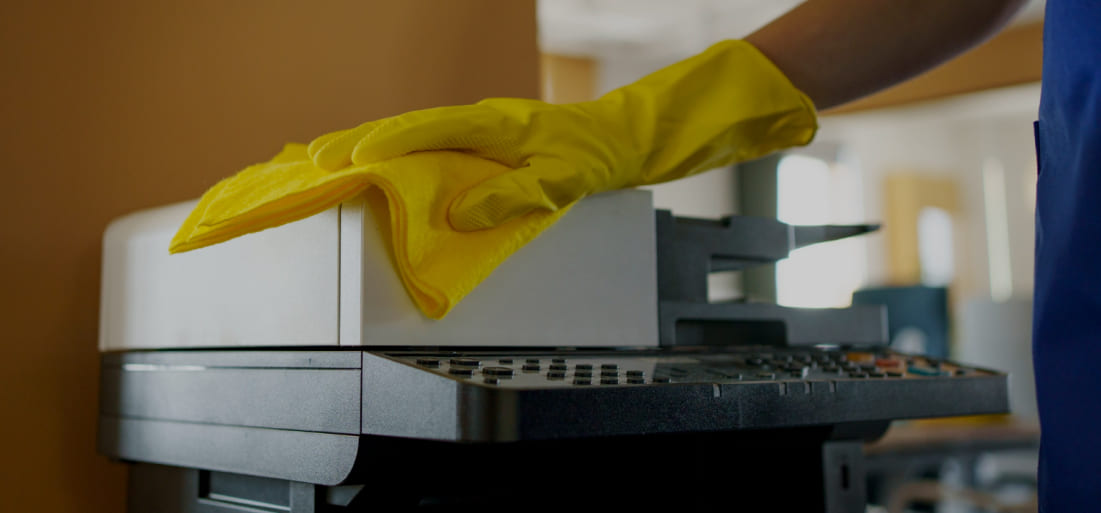
Clean the Exterior Surface
Wipe the exterior of the printer using a soft and lint-free cloth that has been moistened with a little water. Do not use strong chemicals or spray water onto the toner printer. The move eliminates prints as well as dust and dirt, which may develop on the frequently handled objects like buttons and display panels.
Dust Paper Feed and Interior
Wipe the interior with a soft microfiber cloth or a soft brush. Watch the paper feed section, where dust and minute particles of paper tend to build up and jam the machine. Other users are comfortable blowing the dust with a can of compressed air; one should be cautious not to blow the dust further into the printer.
Clean the Inkjet Printer's Print Head
In the case of inkjet machines, the print heads may get clogged, and thus they show streaking or faded print over time due to the dried ink. A majority of modern printers have an automatic cleaning of the print head that is available in the settings menu of the printers. In case of a need to clean manually, follow the instructions of the user manual and apply only the specified cleaning materials.
Inspect and Clean Rollers
The rollers of paper aid in feeding paper through the printer; however, they may be dusty or have ink, which is left behind. Paper jam or misfeed is more likely to take place when the rollers are dirty. Wipe each roller using a slightly moist cloth wetted in water or isopropyl alcohol and turn them up slowly, cleaning all the parts.
Re-Install Parts and Test Print
When everything is dry and clean, reassemble the cartridges or the toner and put the paper tray back into place. Reinsert the plug and commence the printing. A test print is used to confirm that all is working and that the cleaning process has enhanced the clarity of the print and that the print is perfectly aligned.
Conclusion
Print head cleaning is a basic but efficient method of increasing the life of a device, avoiding print quality problems, and decreasing the possibility of technical errors. As a result of following a proper cleaning program that involves both an interior and exterior cleaning, the users can guarantee the stability of the performance and prevent unnecessary repairs. A clean printer is more dependable to use either at home or in a small office and always provides better performance.